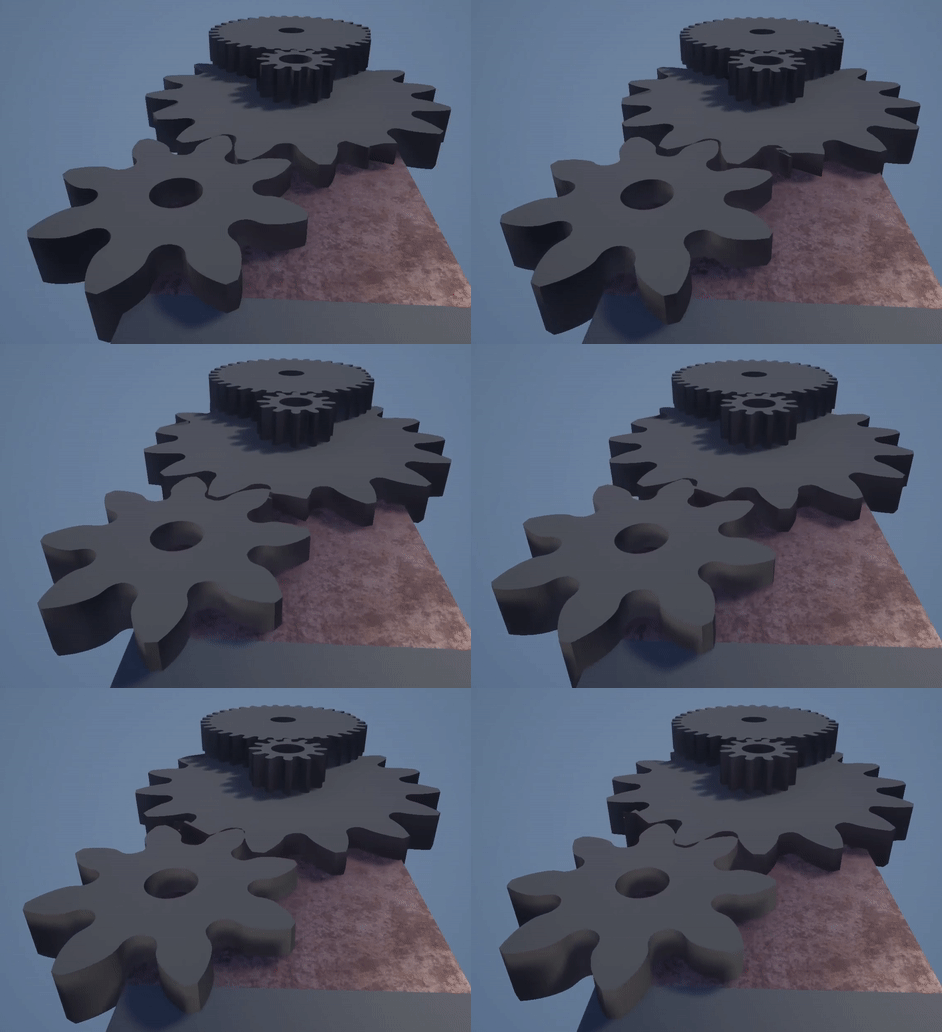
Vertex Animation and UV masking study
The gears were modelled in fusion 360 as blender's extra meshes did not give the detail
I wanted, the f360 sketch imported into blender (through FBX format) where they were positioned, UV unwrapped
(top down projection onto second UV channel) and texture painted. In Unreal, each gear is masked by rounding
U and V of UVs and multiplying permutations. Each gear is then spun, by vertex animation, around an unreal socket
at each gear's centre (placed in blender, passed in by parameter.) Rotation speed is calculated by dividing
time into the correct scale for each gear, this allows for time to be scaled by a parameter settable by a designer or in code to speed up or slow down the gear train. Using Unreal's "per instance random" node I can; add a random value to time, (offsetting the rotation to avoid similar looking trains), or multiply it with the time to give a varying speed. (A similar effect could be achieved in other engines with a random value based on location.)
The intention of this effect was to create a low cost*, accessible way to add interest to walls, doors and other areas that appear frequently.
*Masking via UVs allowed for colour/albedo data to be stored in vertex colours, so no textures were needed and only a single draw call, this effect can be scaled up easily, only increasing in expense after every square number of gears, (2,4,9,16...) But will eventually become more expensive than other methods such as pivot caching or a texture mask.


breakdown of animation method

Breakdown of the UV masking method.

UVs (in their own channel)